> ## Documentation Index
> Fetch the complete documentation index at: https://docs.usebracket.com/llms.txt
> Use this file to discover all available pages before exploring further.
# Connecting Salesforce
> Follow these steps to sync an existing Salesforce table
## Creating your connection URI
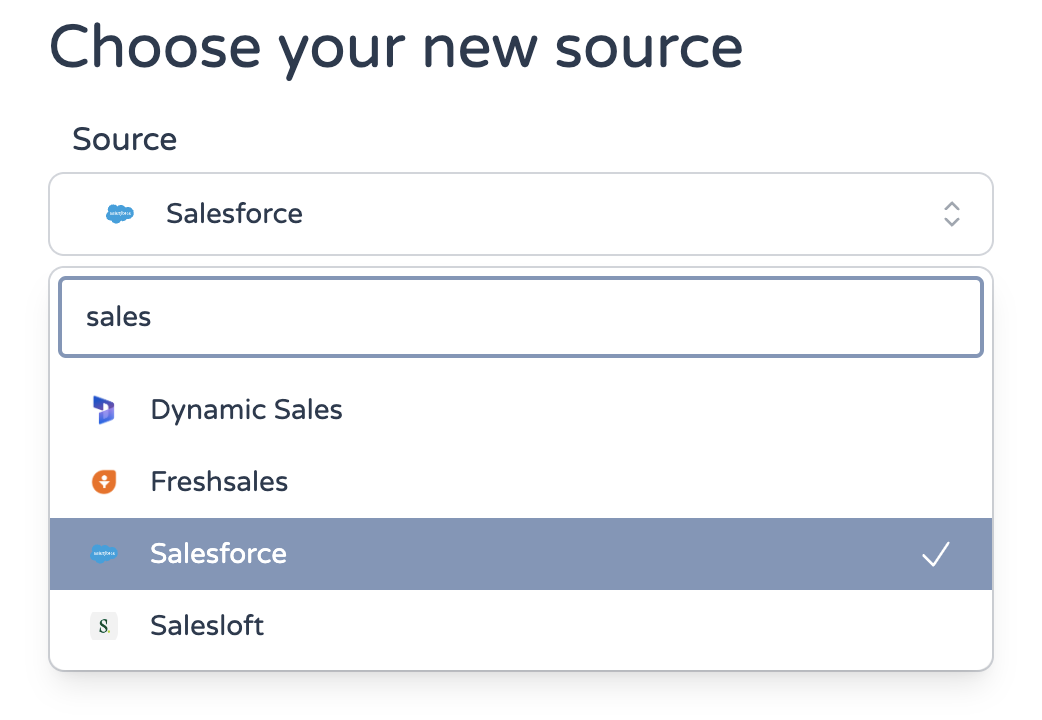
1. On the Bracket web-app, for either the primary or secondary source, select "Salesforce" from the drop-down.
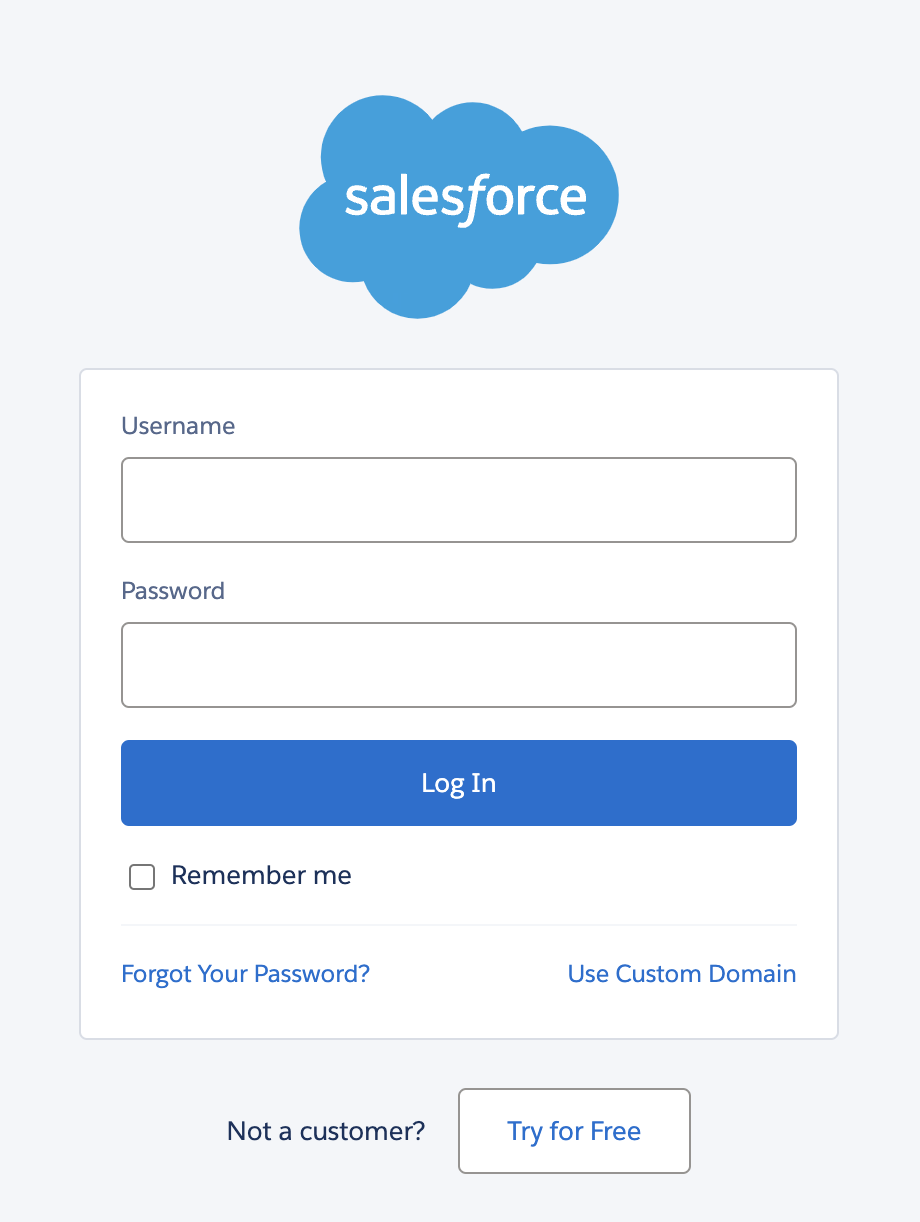
 2. Enter your Salesforce credentials, then click "Next"
 3. Select the table you would like to sync from the drop-down menu.
If you do not see your Salesforce tables immediately, wait a few seconds and refresh the page
3. Select the table you would like to sync from the drop-down menu.
If you do not see your Salesforce tables immediately, wait a few seconds and refresh the page