Documentation Index
Fetch the complete documentation index at: https://docs.usebracket.com/llms.txt
Use this file to discover all available pages before exploring further.
Summary
Bracket lets you connect CRMs and databases for two-way or one-way syncs. In this guide, we’ll talk through how to get everything connected in a few quick steps.If you’d like to join a private Slack or Discord group with our team for support or questions, just ping us at eng@usebracket.com
1. Prepare your data sources for the sync
The prerequisites for a successful sync are:- Both data sources are set up (i.e., Bracket does not host on your behalf)
- The secondary data source is empty of data.
2. Create an account on our web app
Bracket web app
Set up your syncs here
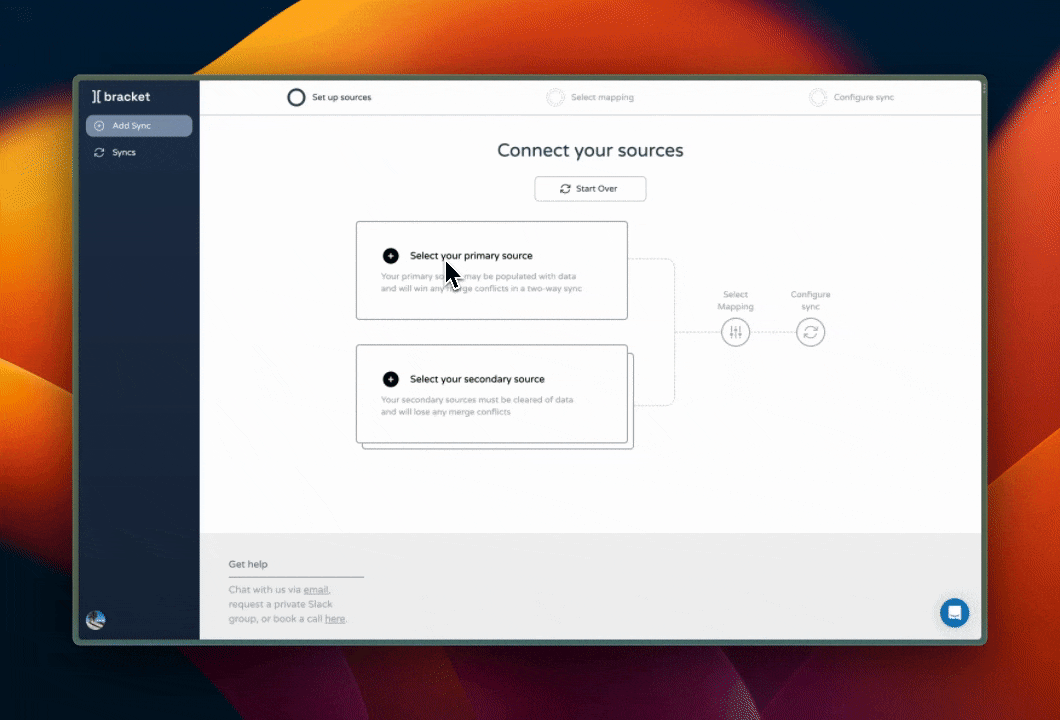
3. Enter connection details for each data source
On the web app, you’ll need to enter certain connection details to get syncs running. See below for a summary of what information you’ll need.| Data source | What you’ll need |
|---|---|
| Postgres | Connection string URI |
| Salesforce | A valid Salesforce account |
| Hubspot | A valid Hubspot account |
| Airtable | An existing Airtable base |
| MySQL | Connection string URI |
| DynamoDB | Access key, secret access key, and region |
| MongoDB | Connection string URI |
| Google Sheets | An existing Google Sheet |
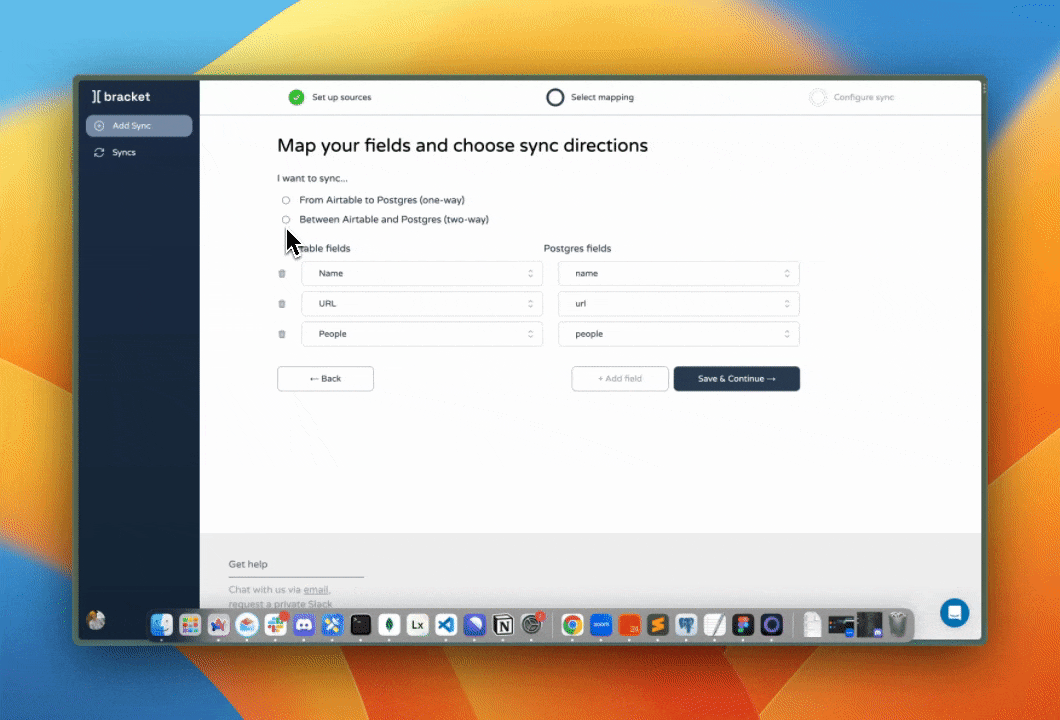
4. Review the fields to be synced and choose sync direction
On this page, you can remove any fields that you do not want synced. While Bracket auto-maps fields based on field names, you can also adjust the mapping as needed.Optional: Manually setting mapped fields
Optional: Manually setting mapped fields
In the case that you have many fields that you want to modify (delete, add, edit etc), you can
manually upload a field mapping in the following file format:
Example field mapping json format
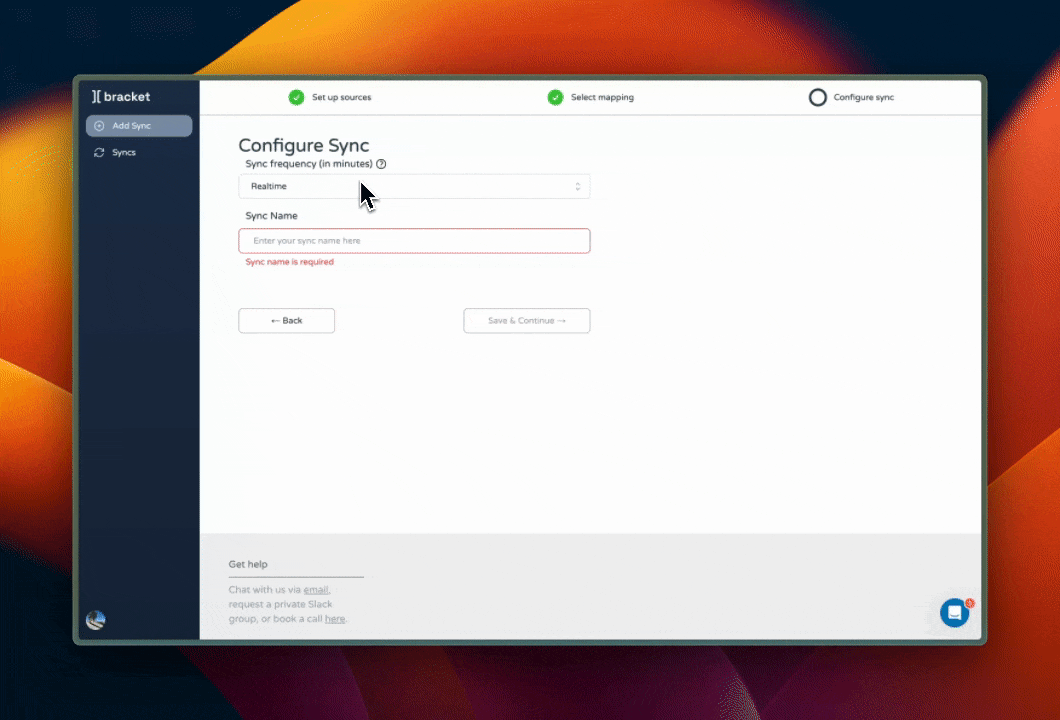
5. Name your sync and choose sync frequency.
6. Initiate sync
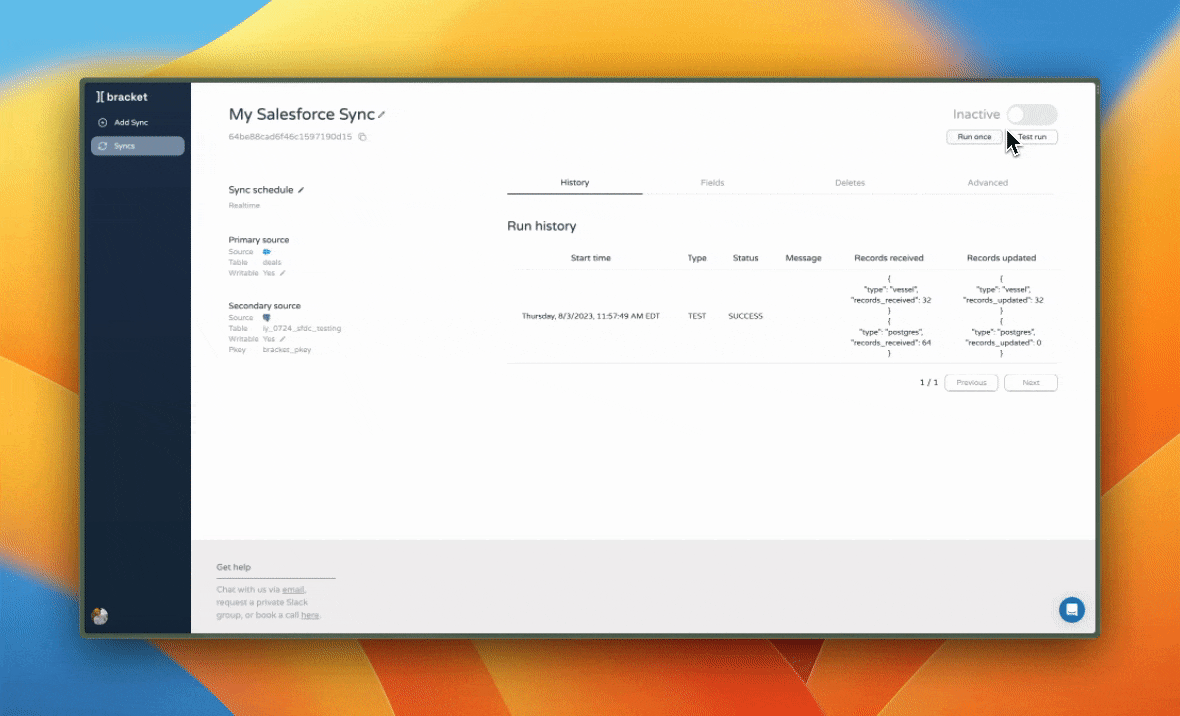
When you create your sync, your primary source will automatically seed the secondary source if the secondary source is empty of data. After that initial seed, to make sure the sync will work as expected, click “Test run,” then refresh the page to see the result of the test.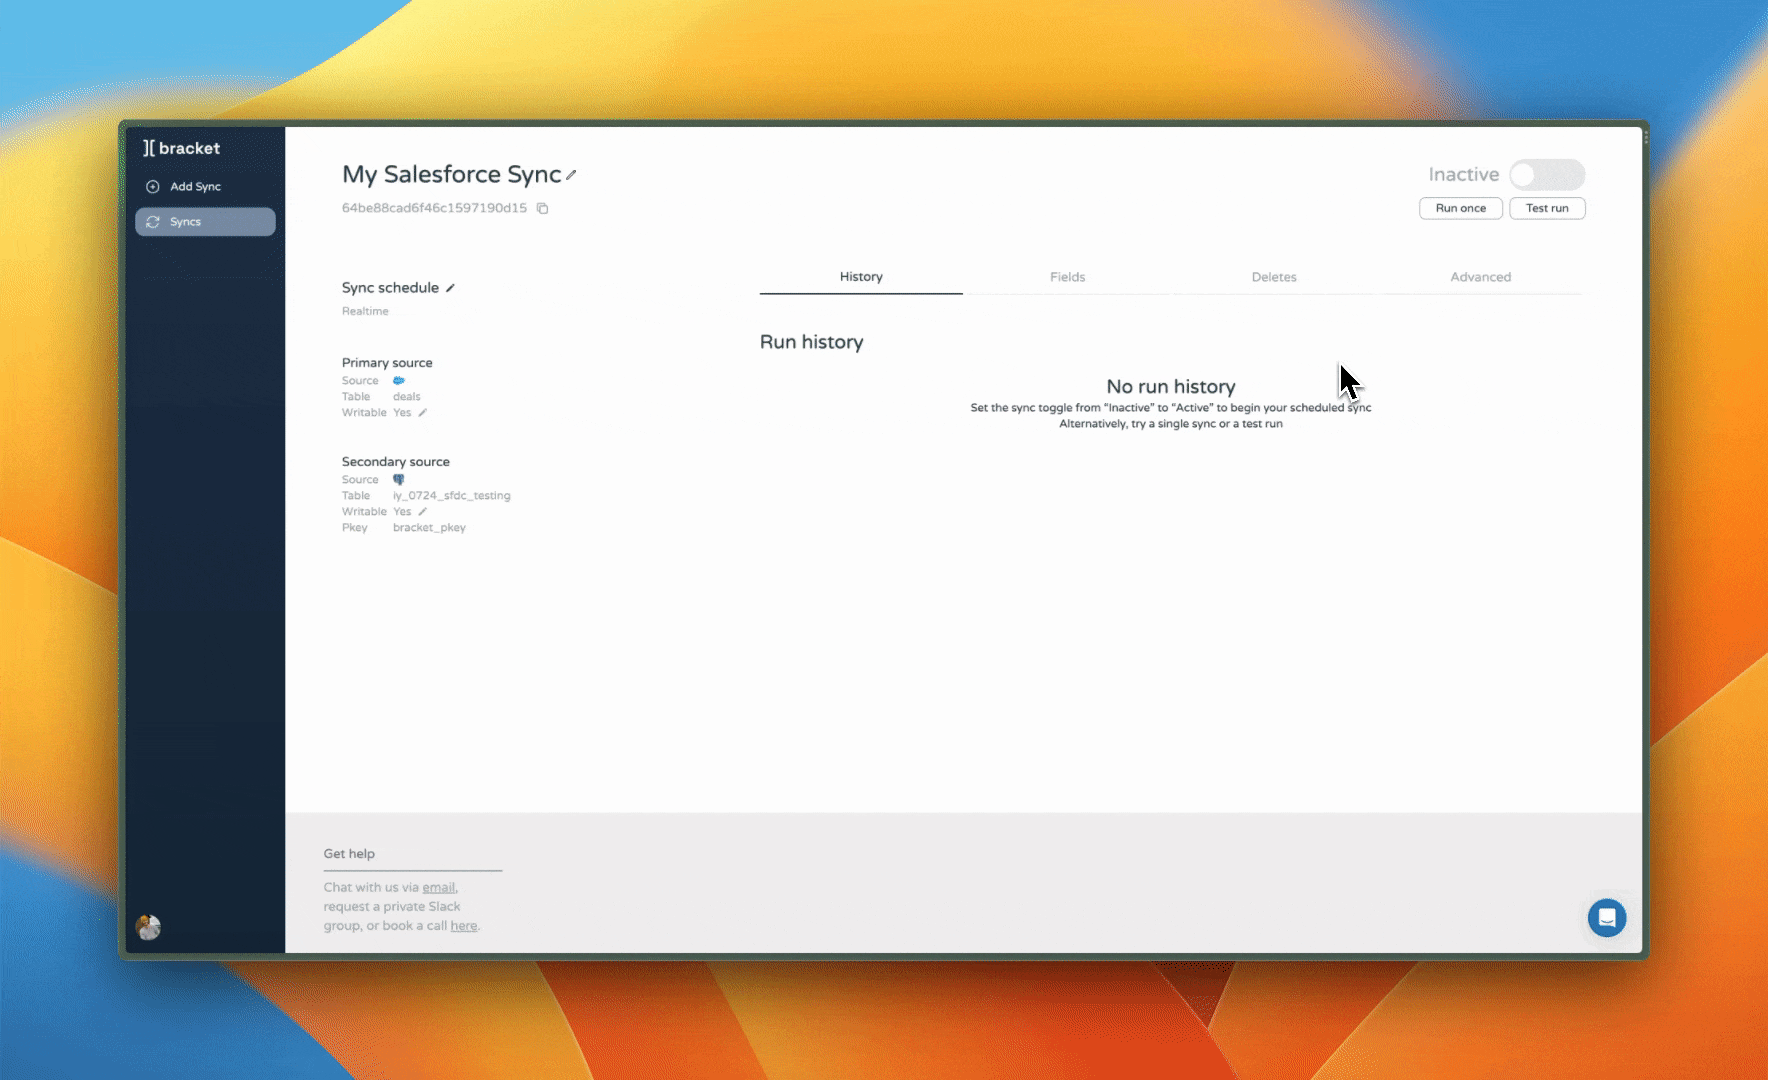
Active to begin the sync. Refresh the page to
verify that a sync job has been scheduled.